
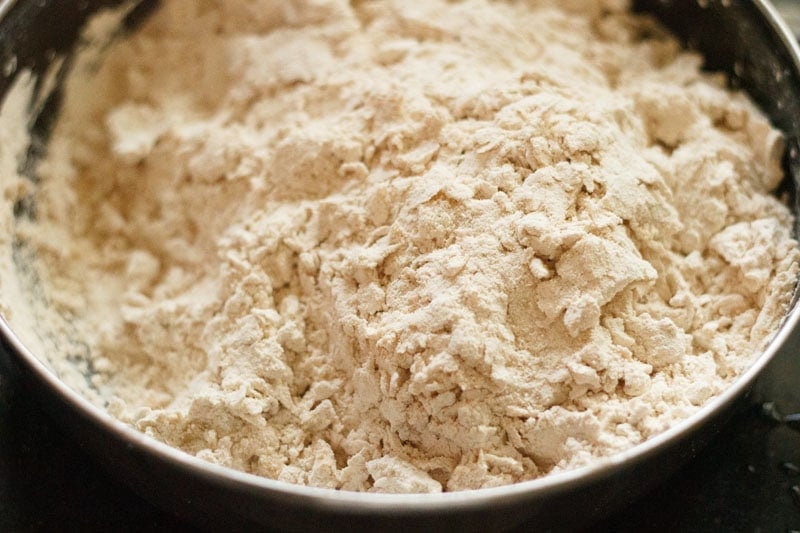
1. Take 3 cups of whole wheat flour (atta) in a bowl. Add about 1 teaspoon of salt or according to taste. Add a bit of water and 1 to 2 tablespoons ghee or oil and start mixing.
For the oil you can use sunflower oil, avocado oil, grapeseed oil, rice bran oil and also peanut oil.
You can measure and keep about 1 to 1.25 cups of water that you will be needing depending upon the quality of the flour.
3 cups of flour might be difficult to handle and work upon. So you can reduce the quantity of flour if needed.
Note:
1. If your whole wheat flour has a lot of bran then sieve it.
2. I am showing the process of kneading the dough with hands. But feel free to knead the roti dough in a stand mixer.
2. Adding water to the dough in parts, begin to knead the dough.
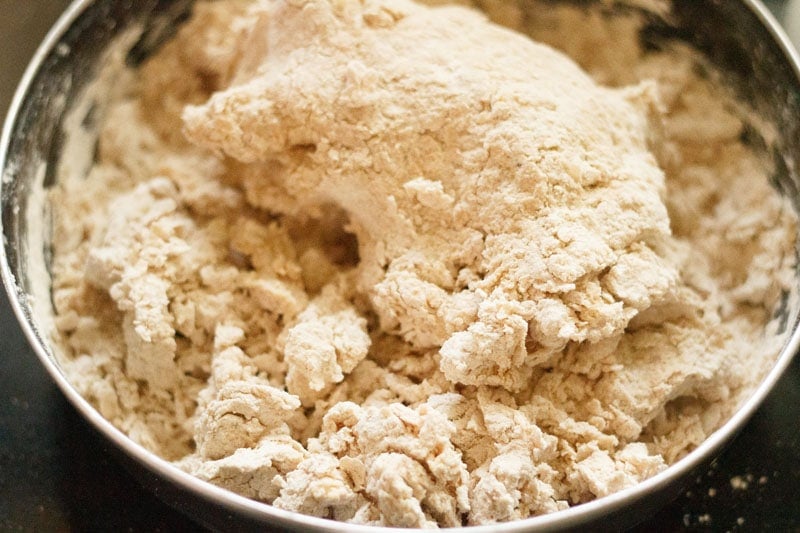
3. Continue to knead the dough. Keep adding water as required, knocking the dough down as you knead to create more gluten.
Tip: If you add all the water at once, then the flour will become too sticky to handle. So add in parts as needed.
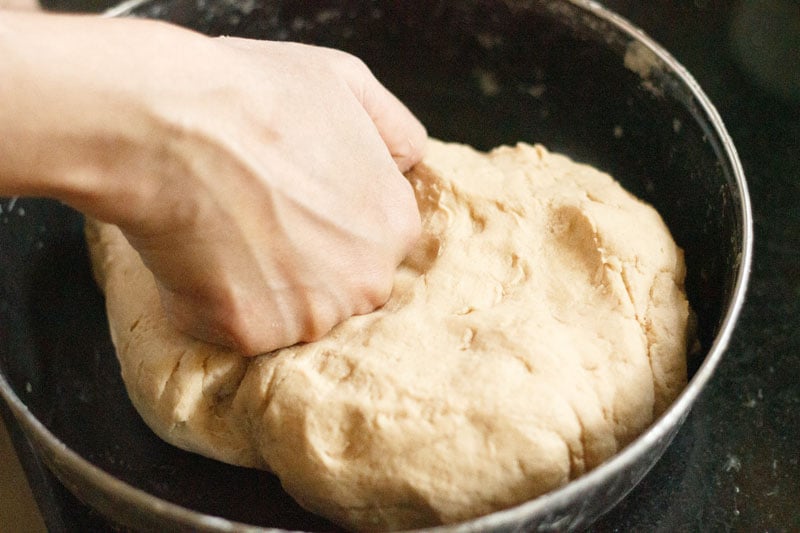
At the final stage of kneading the dough, some people prefer to throw the dough from a height of approximately 1 to 2 feet to the bowl while kneading. This helps in making the dough soft.
I personally prefer to apply pressure from my fist rather than using the throwing method. In the pic below you can see the hand posture which is used to knead the dough.
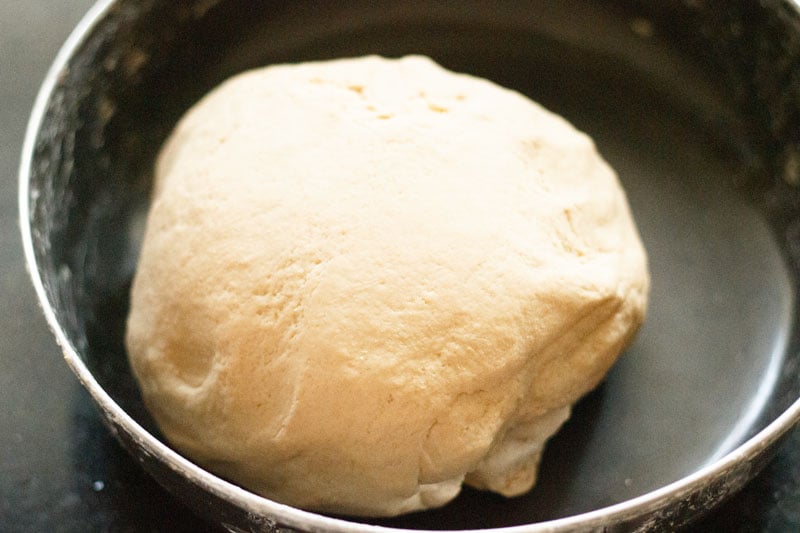
4. Keep on kneading till the dough becomes pliable and soft. The final dough consistency should be neither sticky nor hard. The dough for rotis is more softer than the dough kneaded for Poori (Indian Fried Bread).
After kneading the dough, cover it with a plate or cloth and allow it to rest for 20 to 30 minutes. While you can make the roti straight away after kneading the dough, this 30 minute waiting period helps the gluten relax, which makes it easier to roll out.
Note: You can also use a stand mixer or roti maker appliances to knead the dough if you prefer.
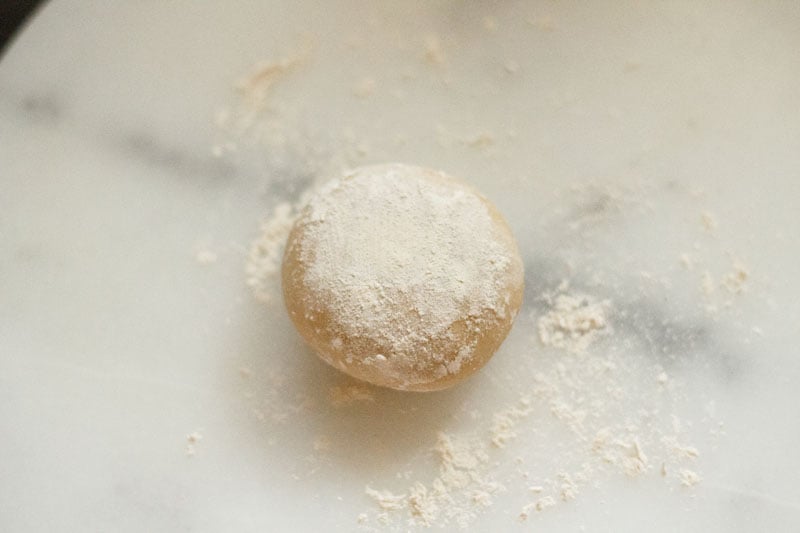
5. Now make small to medium balls of the dough. Roll the balls in the palms of your hands to smoothen it. Flatten the ball and place them on a rolling board or a clean kitchen countertop.
Sprinkle some whole wheat flour on the dough ball. Alternatively, you can also dust the rolling board with flour.
7. Turn on the gas stove and put the tawa to make it hot. The tawa has to be sufficiently hot to make soft roti. I generally make rotis on a medium-high flame.
NOTE: On “sim” or low flame, the roti become hard; and on a very high flame they cook too fast. So regulate the temperature while making the roti.
So how do you find out if the tawa is hot enough to make roti? We sprinkle little whole wheat flour in tawa or griddle. If it darkens quickly then the tawa is ready to make roti.
8. While tawa is getting hot, start rolling the dough ball into a flat round circle.
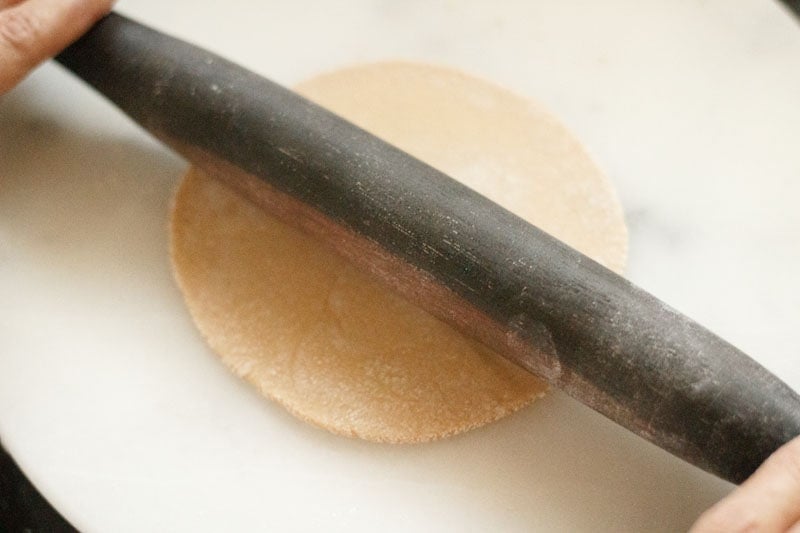
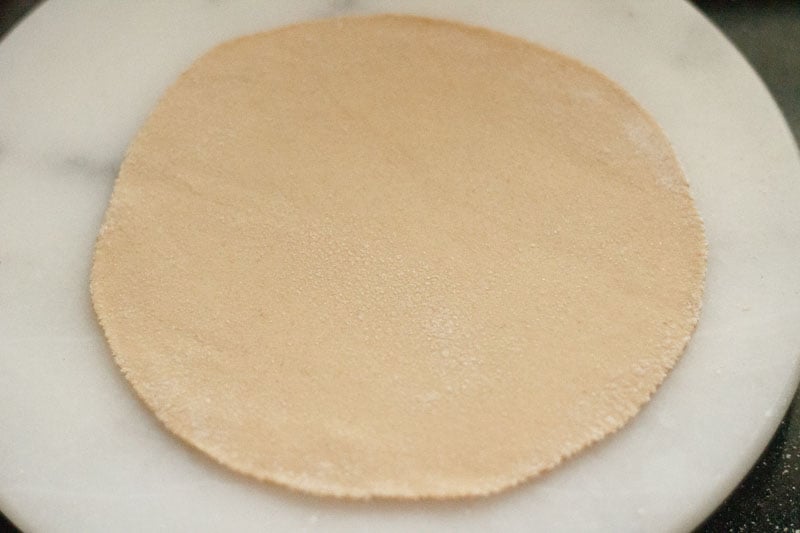
9. Keep on rolling till you get an even circle as shown in the picture below. Making the roti round is not easy!
With practice, you will be able to roll them round, but if they are a little misshapen at first, they will still taste good. Sprinkle some wheat flour if the dough begins to stretch or become sticky while rolling.
The trick to rolling round roti is that when you are rolling the dough then the roti should also be moving in a circular direction.
Also make sure that the rotis are not too thick, as they will take too much time to cook and will not puff up as they should
Note: While rolling the dough, do not coat it with too much of the dry wheat flour. The flour should be lightly used and just enough to help you with the rolling. Too much flour on the rolled roti dough will make for a denser texture. The dry flour particles also burn while roasting and stick to the outer surface of the roti.
How to make Phulka
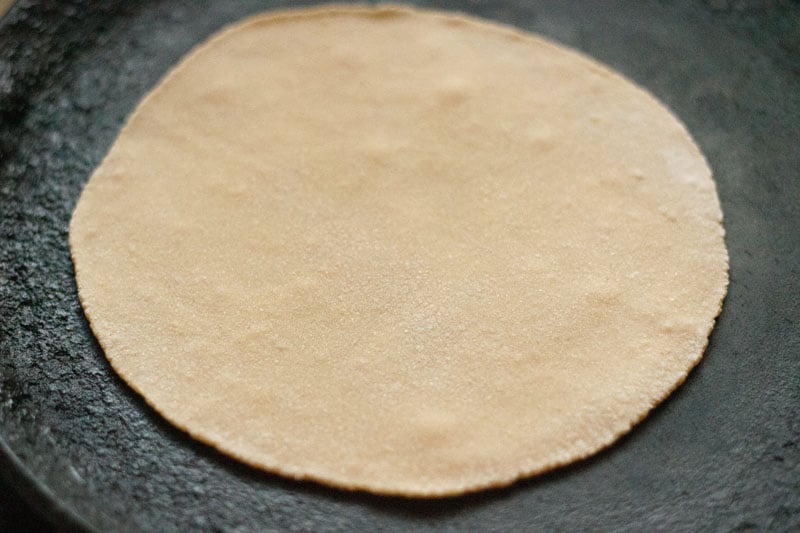
10. Now put the roti on a hot tawa or skillet or griddle.
11. First cook one side. It should be about one-fourth cooked, as shown in the photo below. You will see some air pockets forming on the rolled dough.

12. Turn with the help of tongs and cook the other side. This should be a little bit more cooked than the first side. Brown spots should be visible. The photo below shows the roti ready to put on fire.
13. Now hold the roti with a tong and place the first side which was one-fourth cooked directly on the fire. It will start to puff.
TIP: If you have an induction stove-top, then keep a holdable baking rack (a baking rack with a handle) on top of the stove or place it in your hands. Keep the half cooked roti on the baking rack and let it puff from the heat of the induction stove. Flip it with tongs or spatula and cook the second side.
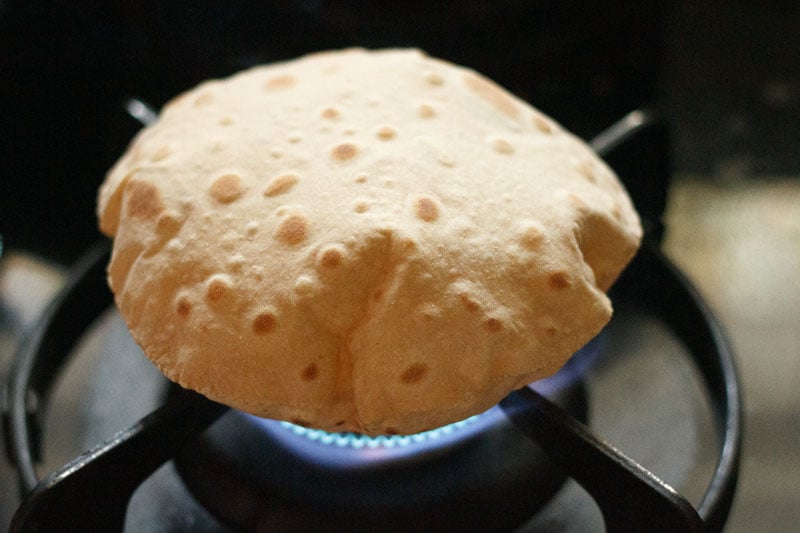
14. Turn and keep the other side on fire. The roti will puff more. Avoid burning or overcooking the rotis, as they will become crisp and hard like papad.

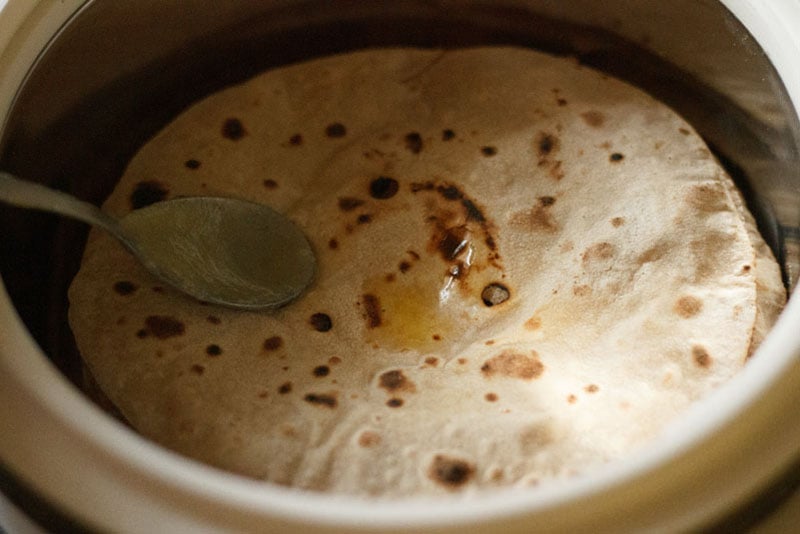
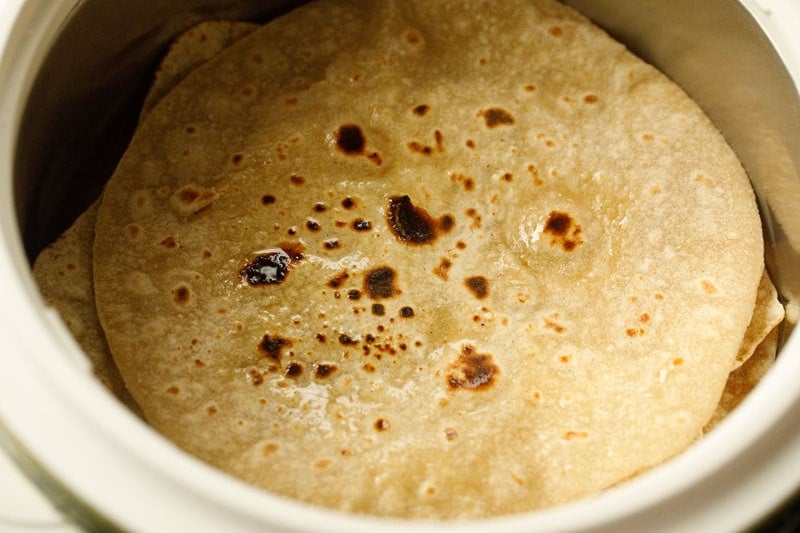
15. Remove and place in a roti basket if not serving immediately. Apply ghee or oil on the roti. Applying or brushing the phulka with any of these fats keeps them soft for a long time.
Roti made with this method is ideally served hot. If you cannot serve them hot, then you can keep them in a container that keeps food warm like a casserole or in a roti basket. You can also wrap them up in a kitchen towel or napkin.
How to make Tawa Roti
Here I show you to cook and puff the roti or phulka on tawa or skillet. This is helpful if you have an induction stove-top.
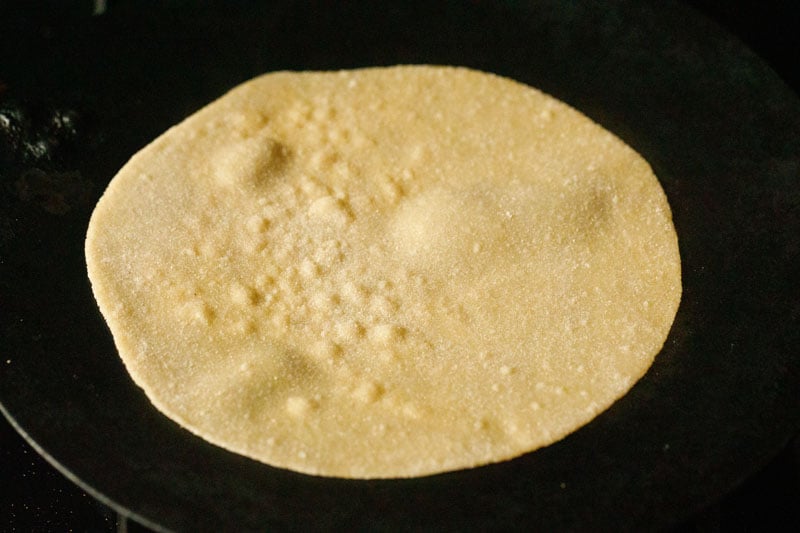
1. Place the rolled roti dough on a hot tawa or skillet. Keep the heat to medium-high or high. Within some seconds you will see air pockets forming on the raw chapati dough.
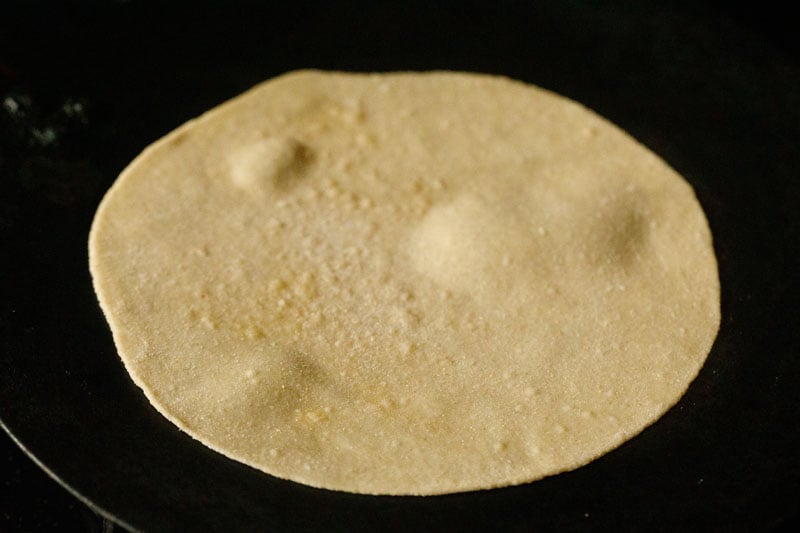
2. Roast for about 30 seconds or so and you will see the air-pockets increase on the surface.
3. Flip with a spatula or tongs.
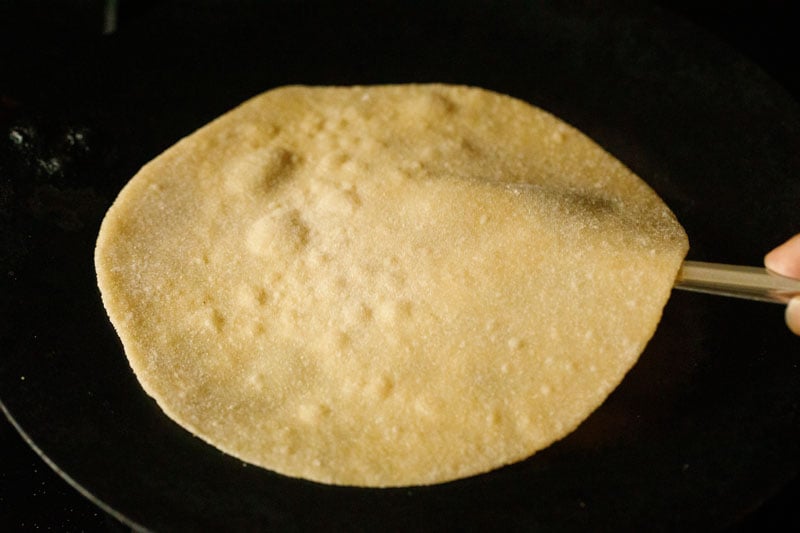
4. Roast the second side for about a minute.
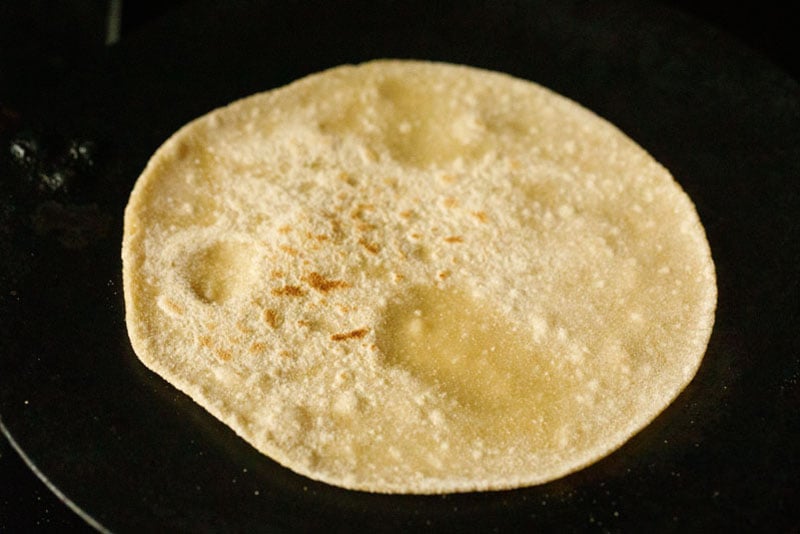
5. Flip again. This second side will be cooked slightly more with some visible brown spots.
NOTE: I am giving approximate timing that can take to roast the roti. The actual timing will vary as it depends upon the thickness of the roti, the intensity and pressure of the flame and thickness and quality of the skillet or tawa.
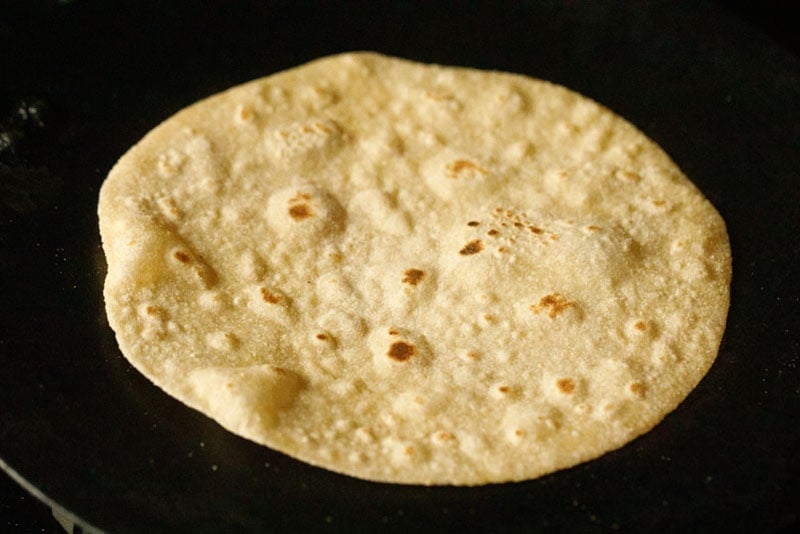
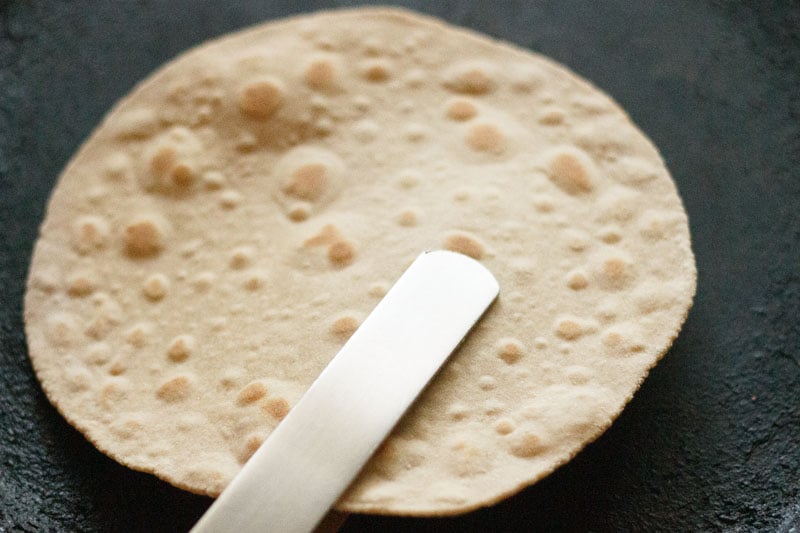
6. Now with a clean folded cotton kitchen napkin or a spatula, begin to press the partially cooked dough on all sides and center.
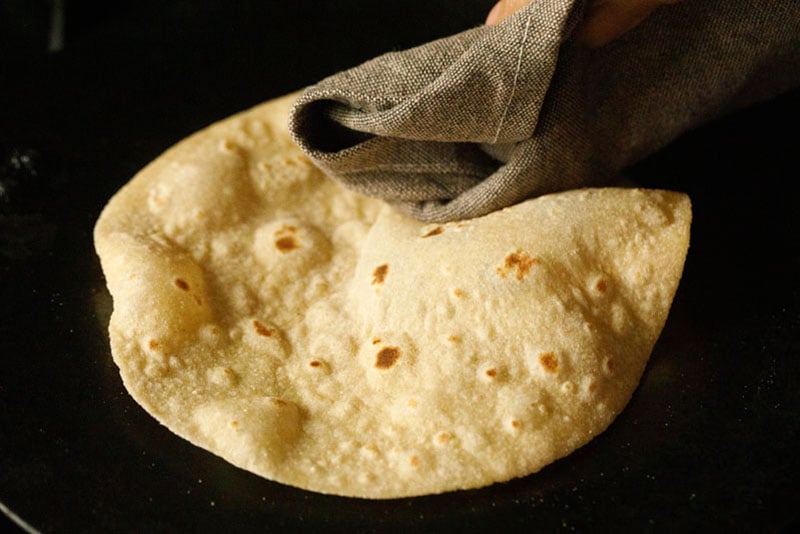
7. Pressing and nudging the chapati gently all over its surface, helps to puff it up.
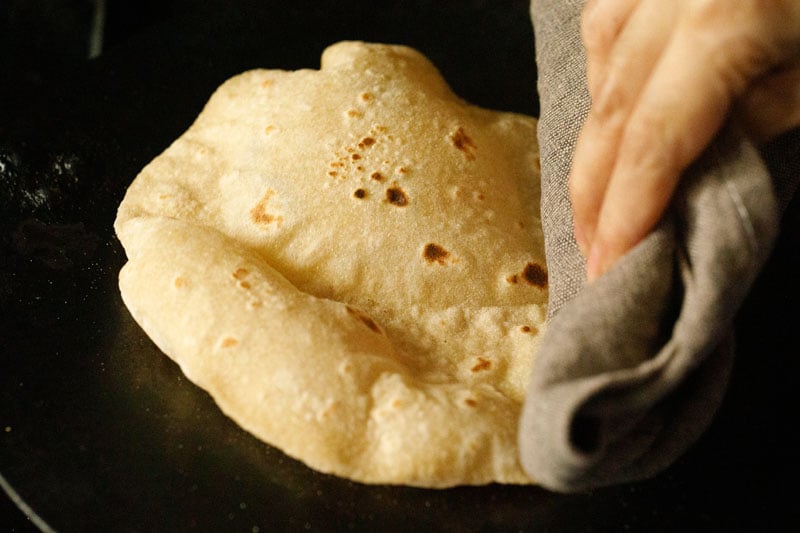
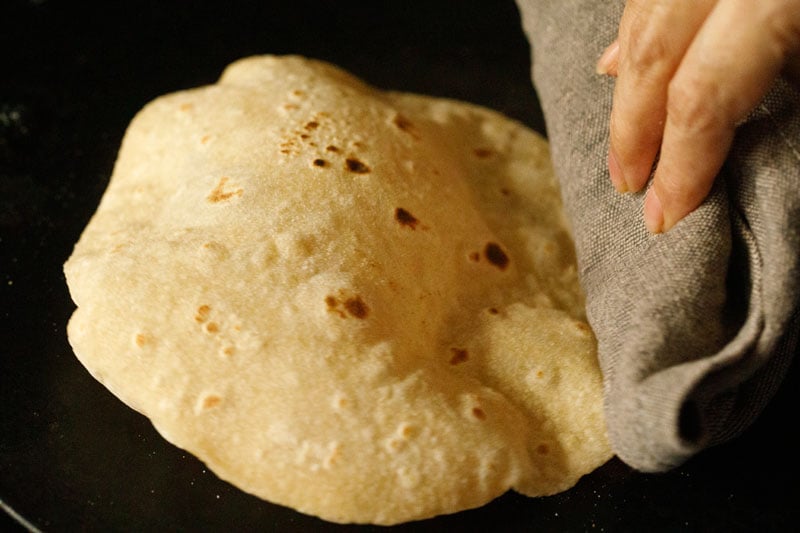
8. Keep on pressing all over, especially the flat portions, so that the entire roti gets puffed up well.
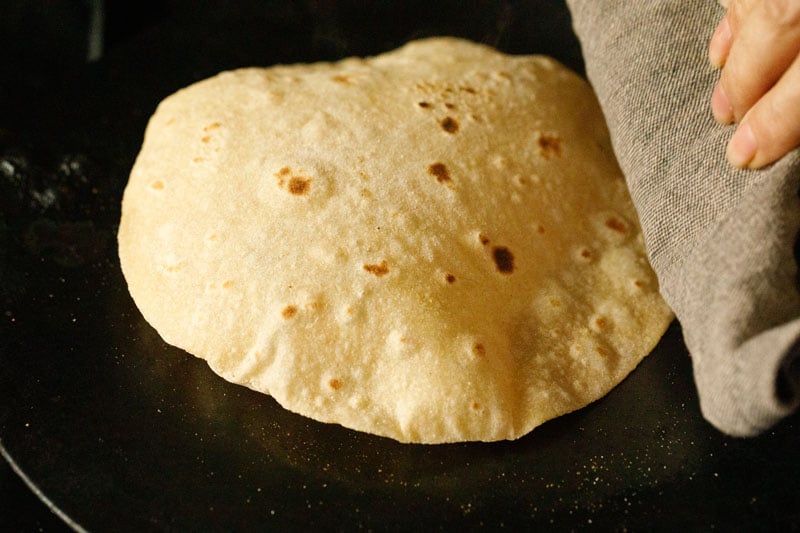
9. Below you see a nicely puffed phulka roti on a tawa. If you want you can flip again and cook the second side too for some seconds.
10. Place the soft and puffed roti in a roti-basket and spread or brush some oil or ghee on top.


Comments
Post a Comment